Cutout
How to Execute
Run Directly on Screen
If you press screen with right-click or right-drag, the context menu will appear.

If you select Cutout in the context menu, Cutout File as dialog will be displayed.
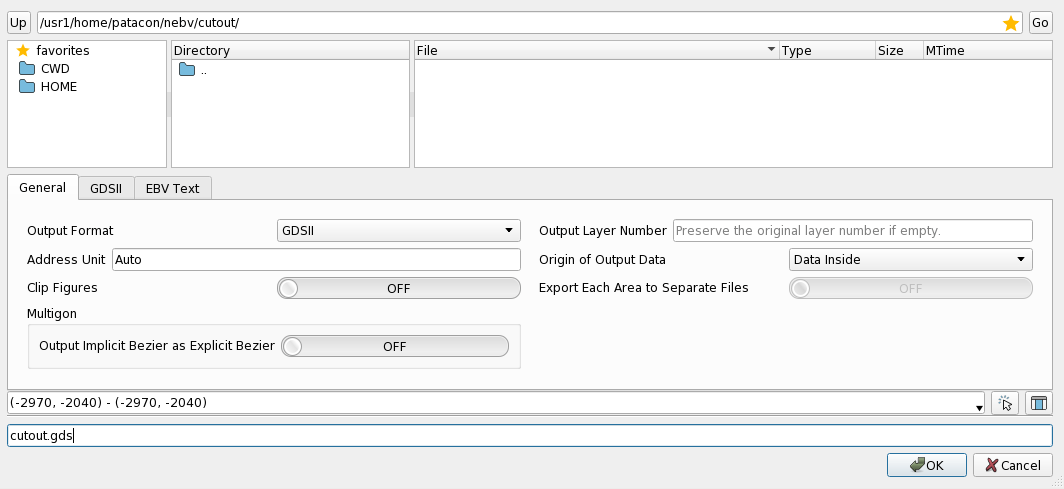
Dialog Parameters
| Item | Action |
|---|---|
| Output Format | Specify the output format. |
| Output Target | Specify the output target. When set to either Chip Line or Cell Line, a filled shape corresponding to the respective region will be generated. The output level of the Cell Line is determined by the preferences specified for each format. |
| Address Unit | Specify an address unit for cutout. Address unit is calculated automatically when 0 is specified. |
| Clip Figures | Specify whether to clip the figures to the specified area when cutout. When OFF, if the bounding rectangle of a figure overlaps the specified area, the whole figure will be output. |
| Output Layer Number | Specify the layer and data type of the output figure. When set to Auto, the output layer number and data type are automatically determined in the following order. Layer number1. Layer number of input data (cell hierarchy level for Cell Line)2. 0 Data type1. Data type of input data2. Index of input data |
| Origin of Output Data | Specify the origin of the output file. |
| Export Each Area to Separate Files | Output to a separate file for each area. This does not apply when executed from the context menu of screen. |
| Multigon/Output Implicit Bezier as Explicit Bezier | Specify whether the omitted points in the Implicit Bezier section should be expanded and output as an Explicit Bezier section. |
When Output Format is GDSII or OASIS, Output Implicit Bezier as Explicit Bezier setting is ignored.
When Clip Figures is ON or when executing cutout on reversed chips, the omitted points in the Implicit Bezier section are expanded regardless of the Output Implicit Bezier as Explicit Bezier setting.
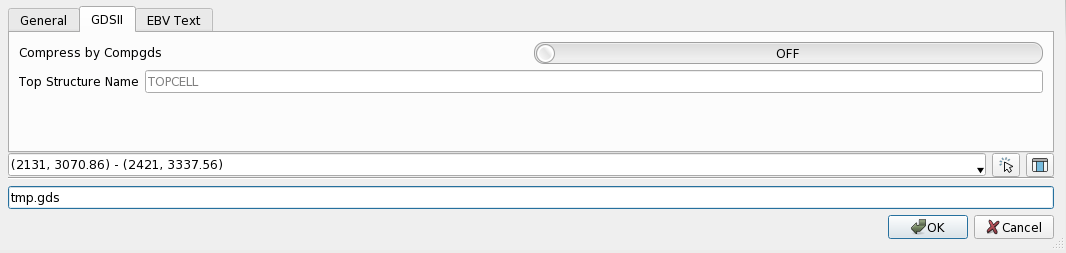
The settings specific to GDSII output format can be set in GDSII tab.
| Item | Action |
|---|---|
| Compress by Compgds | Specify whether to use compgds to compress the output file. |
| Top Structure Name | Specify the top structure name of the output file. |
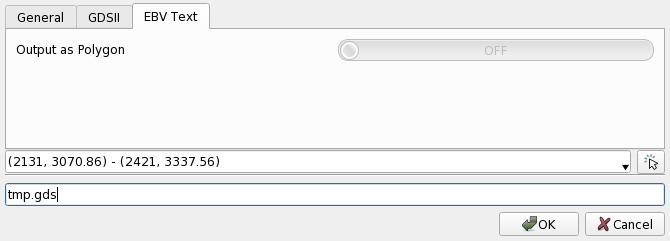
The settings specific to EBV Text output format can be set in EBV Text tab.
| Item | Action |
|---|---|
| Output as Polygon | Specify whether to output all figures as polygons. |
Press OK to output the cutout figure with the conditions specified in the dialog.
Specify Area File
Select Load AreaFile/Cutout from the main menu to display the Open AreaFile for Cutout dialog.

After specifying an Area File and pressing OK, the Cutout File as dialog will be displayed.
For Area File syntax, Refer to Area File page.
Run from the Command Line
GDSII Format Cutout
When specifying --gds-out option at startup, figures will be cut out in GDSII format after launch.
You can also specify the area or Area File to be output to the cutout file using --cutout-area option.
By specifying as follows, the specified range of figure_file will be cut out to cutout.gds:
$ nebv --cutout-area="0,0,100,100" --gds-out=/path/to/cutout.gds /path/to/figure_file
$ nebv --cutout-area=/path/to/areafile.txt --gds-out=/path/to/cutout.gds /path/to/figure_file
For Area File syntax, Refer to Area File page.
See --gds-out, --cutout-area in Boot Options page.
Other Format Cutouts
Like GDSII, cutting out in other formats is also possible.
See --ebv-text-out, --oasis-out, --oasiscl-out, --cutout-area in Boot Options page.
Related Settings
The Cutout settings can be changed from the Preference. See preference Action/Cutout page for detail.