Adding Marks
How to Execute
Create Directly on Screen
There are 2 methods to add a mark directly on screen.
- Switch to Add Mark mode and left-click on screen.

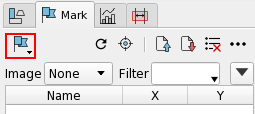
The shape of the mark to be added can be specified from Shape in the Mark Panel toolbar.
| Icon | Item | Action |
|---|---|---|
| Dot | Shape the mark as dot. | |
| Cross | Shape the mark as cross. | |
| X | Shape the mark as “X”. | |
| Square | Shape the mark as square. |
The added mark is saved to Mark Panel and displayed on screen.

Right-click on the displayed mark on Mark Panel or screen to open the context menu containing the following items.
| Menu | Action |
|---|---|
| Group | Group the marks. Refer to Grouping Marks page. |
| Show Panel | Switch the display panel to the Mark Panel. |
| Jump | Center the screen to the mark coordinates. |
| Start Auto Navigation | Start the auto-navigation from the specified mark. Refer to Auto Navigation Bar page. |
| Select/Deselect | Toggle selection of mark. |
| Show | Toggle showing/hiding the mark information on screen. |
| Display/Name | Toggle showing/hiding the name of the mark on the screen. |
| Display/Coordinates | Toggle showing/hiding the coordinates of the mark on screen. |
| Color | Specify the display color of the mark on screen. |
| Shape | Specify the shape of the mark on screen. |
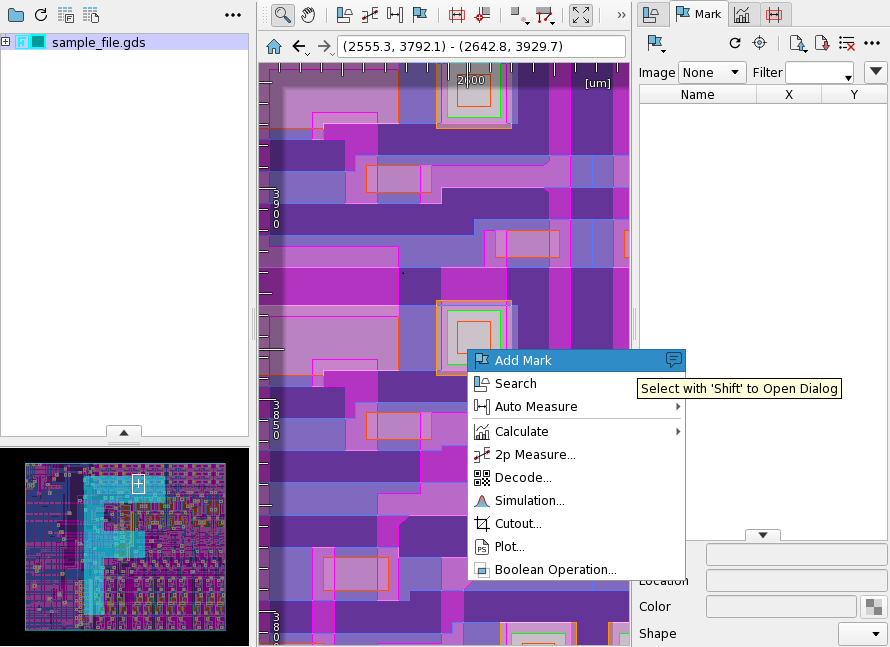
- Right-click at a point on screen where you want to create a mark to open the context menu, and select
Add Mark.
Add Mark to open the Add Mark dialog.
Create Using Add Mark Dialog
Do one of the following operations to open the Add Mark dialog.
- From the context menu of screen, select
Add Mark - Right-click on the blank part of Mark Panel to open the context menu, and select
Add Mark.
| Item | Action |
|---|---|
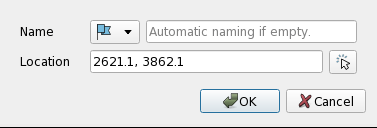
| Name | Specify the shape of the mark and the mark name. |
| Location | Specify the coordinates. |
Enter the coordinates and press OK to create a mark at the specified coordinates.
Create from File
Mark Location File
When an arbitrary CSV file is imported to Mark Panel, the CSV file is called a Mark Location File.
Click the  icon from the toolbar in the Mark Panel and select
 Load Mark Location File to display the Load dialog.
| Item | Execution Contents |
|---|---|
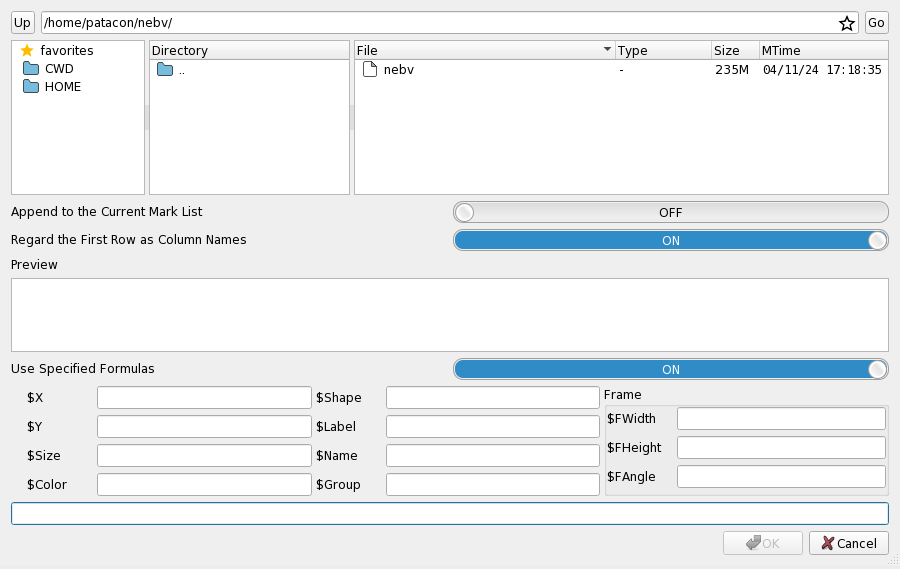
| Append to the Current Mark List | The loaded Mark is added to the current tab. |
| Regard the First Row as Column Names | The first line of the input CSV file is assumed to be column names. When it is turned off, the columns are named as col_1, col_2, … from the beginning of a line. |
| Preview | First three lines of the selected file are displayed. |
| Others | Specify how to handle the values in the CSV file. Refer to Advanced Configuration of Mark page. |
If you specify a CSV file and press OK, the marks in the file will be displayed on Mark Panel and screen.
To create a mark from a CSV file, it is necessary to specify the column to be handled as coordinates. Refer to Mark Location File page.
Mark File
You can also use the Mark Location File Load dialog to load a Mark File created in the past.
Output Marks to File
Mark File
The marks added to the datalist can be saved to a CSV file.
Click the  icon on Mark Panel to open Save Mark List File dialog.

Specify a file name and press OK to output the mark list. The file has the following format:
#MarkLocationFile Created by nebv VERSION (uid=UID) USER@HOSTNAME DATE
#assign,$X,x
...
@
x,y,name,mark_group,mark_shape,mark_color,mark_representative
130.7,127.9,Mark 1,,,,
The preamble section before the “@” line contains the column interpretation specifications, and the data section after “@” consists of Mark information in CSV format.
Mark File
The ability to save as a Mark File (text format) is obsolete. Please save as a Mark Location File (CSV file).
Add Marks at Startup with Command Line Option
Mark Location File
Specify --mark-file option with a Mark location File at startup to load the marks from the file.
$ nebv --mark-file=/path/to/marks.csv ...
The option can be specified more than once.
$ nebv --mark-file=/path/to/marks1.csv --mark-file=/path/to/marks2.csv ...
See --mark-file in Boot Options page.
A Mark Location File with csv extension can be loaded without the
option.
$ nebv /path/to/marks1.csv ...
Mark File
A Mark File can also be loaded with --mark-location-file option at startup.
Related Settings
The default display settings for marks and the way CSV columns are interpreted can be changed in Preference. See preference Action/Add Mark page for detail.