Calculating Density
How to Execute
Calculate Directly on Screen
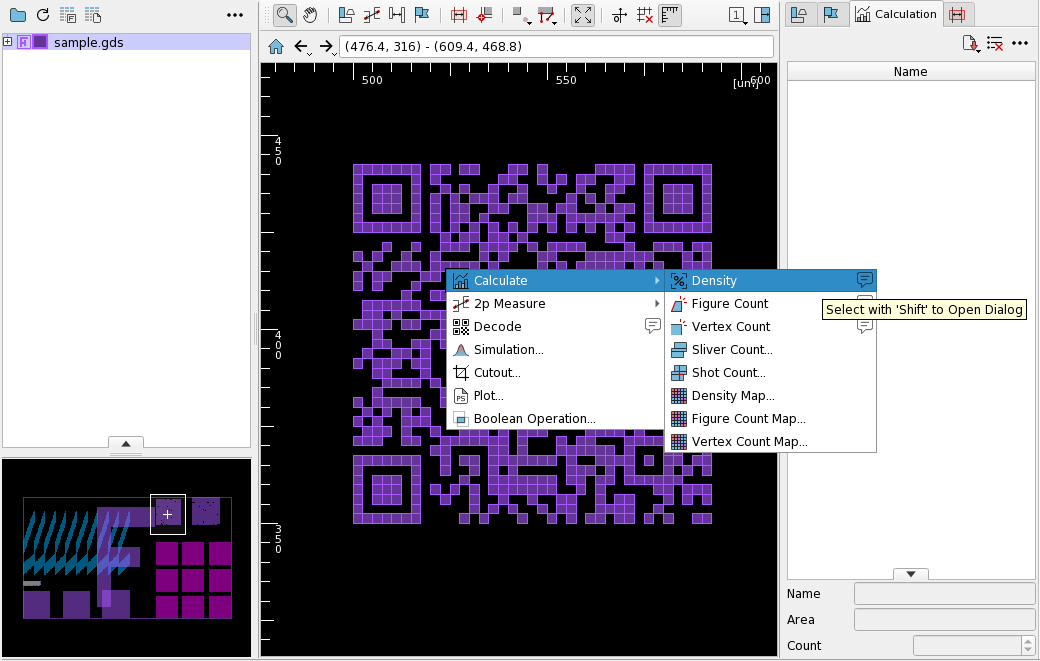
Right-drag on screen to select the region for calculation.
Release the mouse button to open the context menu, then select Calculate/Density.
Calculate/Density to open Calculate Density dialog.
The calculation result is saved to Calculation Panel datalist and displayed on screen.
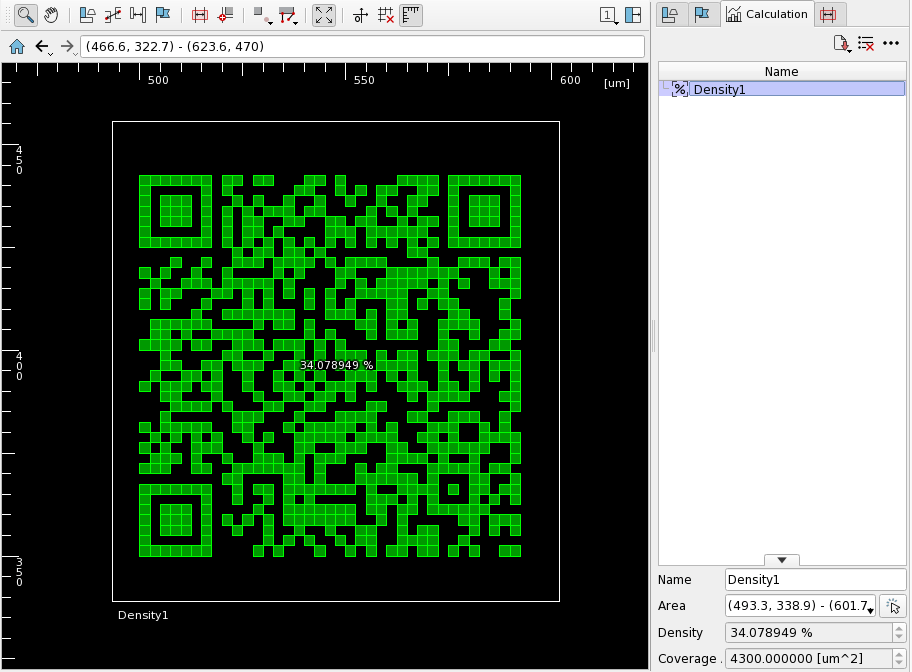
Right-click the displayed calculation result on screen or in the datalist to open the context menu, containing the following items in addition to the default context menu items.
| Item | Action |
|---|---|
| Show | Show/hide the calculation results on screen. |
| Display/Name | Show/hide the name of the calculation result on screen. |
| Display/Coordinates | Show/hide the coordinates of the calculation result on screen. |
| Color | Change the display color of the calculation result on screen. |
Run from Calculate Density Dialog
Do one of the following to open Calculate Density dialog.
- Select
Calculate/Densityfrom the context menu of screen. - Right-click on the blank part of Calculation Panel to open the context menu, then select
Density.
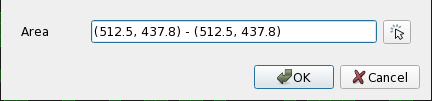
Specify the calculation area in Area and press OK to begin calculation.
Load Area File and Calculate
Select Load AreaFile/Density from the main menu to open Open AreaFile for Density dialog.

Select an Area File and press OK. The calculation is performed on each area described in the file.
Refer to Area File page.
Output the Calculation Results to a File
The calculated results can be saved to a text file in CSV format.
Click the  icon on Calculation Panel and select
 Density to open the Save Density dialog.
Specify the file name and press OK to save the results. The output has the following format:
#Density Created by nebv VERSION (uid=UID) USER@HOSTNAME DATE
#COMMAND addDensity
#ARGS
#xmin,ymin,xmax,ymax,rate,dimension[um^2]
489.4,343.5,597.5,447.3,0.383218,4300.000000
Run from the Command Line
Specify --density-file option with an Area File at startup to execute calculation on each area described in the file after startup.
You can also specify the filename to save the calculation results using --density-file-out option.
By specifying as follows, the calculation results for the specified range in figure_file will be output to density_result.txt:
$ nebv --density-file=/path/to/areafile.txt --density-file-out=/path/to/density_result.txt /path/to/figure_file
$ nebv --density-file="0,0,100,100" --density-file-out=/path/to/density_result.txt /path/to/figure_file
For Area File syntax, Refer to Area File page.
See --density-file, --density-file-out in Boot Options page.
Related Settings
The calculation method of Density and the display method of the result can be changed from Preference. See preference Action/Density page for detail.
Restrictions
- The area of TEXT elements of GDSII, OASIS, etc. and jobdeck titles are not calculated.
- Overlapping figures are considered separately and not merged. This may result in density over 100%.